

Sheet Static Image
Static images allow users to add background images, logos and more to sheet layouts.
In Edit Sheet Def, click Static Image.
Static images are large or small images (Sheet Field Types) that can be imported into sheets. Images can be used for an entire background based on a scanned form or as smaller graphics (e.g., logos).
- Supported image types are jpg, gif, png, tif, bmp.
Word and PDF files must be converted to a supported image type before they can be imported. (Open Dental support cannot assist in converting file types. There are many resources available, such as the Snipping Tool in Windows, online PDF converters, and more.) - Static Images will not display in Mobile Layout.
- Images sizes should not exceed the size of the sheet minus the margins (e.g., 850 x1000). White space (for example, the bottom of a scanned image) should be cropped out. Smaller file sizes are less likely to have any loading issues.
- To add images that are patient specific, see Sheet Patient Image.
- Small images may make lines and rectangles not show. To fix, add a larger background image as well.
- Images are not tied to signatures, thus changes to an image will not clear or invalidate a signature. Place information that should invalidate a signature in a text field instead.
- Images should not be overlayed because there is no way to determine which image shows on top/bottom.
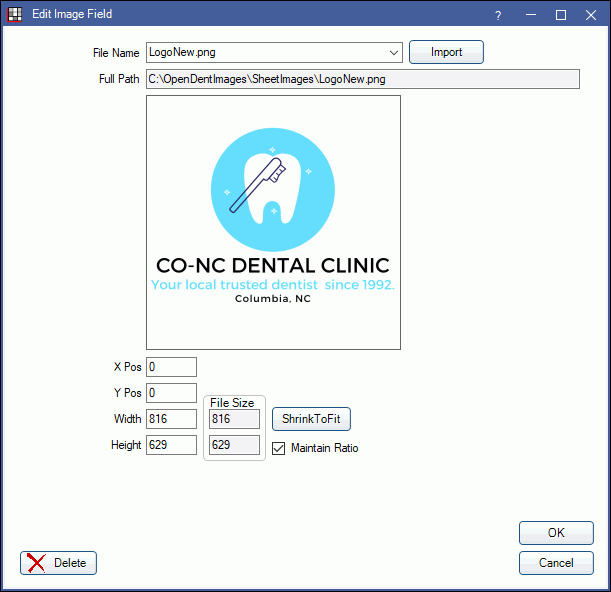
File Name: Click the dropdown arrow to select an image from the OpenDentImages/SheetImages folder. Or click Import to select another image file. A preview of the image will show in the middle of the window.
X/Y Pos: Determines the position of the upper left corner of the image on the sheet in relation to the x and y axis. X = horizontal. Y = vertical.
Width/Height: The size of the image in pixels. To quickly resize an image to the largest size that will fit in the window, click Shrink to Fit. The File Size indicates the image's original size.
Maintain Ratio: Check this box to maintain the same height to width ratio when resizing an image.
Clinic Specific Images
If using clinics, images can change depending on which clinic the sheet is generated from. For example, if the office logo changes from one clinic to another, users can set up the sheet to use the clinic-specific logo.
- First customize the sheet and import a default image (e.g., Logo1.jpg).
- In OpenDentImages, locate the SheetImages folder. This is where images for sheets are stored.
- Create a sub folder for each clinic using the Clinic ID.
- The Clinic ID can be found in the Edit Clinic window.
- Each sub folder should be named with the Clinic ID. For example, if the Clinic ID is 42, the folder would be \\SERVER\OpenDentImages\SheetImages\42.
- Place the new images into their respective clinic's folder. Ensure the image name is the same as the default (e.g. Logo1.jpg).
In Open Dental, select the clinic from the dropdown, then generate the sheet. If a clinic-level image exists, that image will be used on the sheet. If no clinic-level image exists, the default image will be used.