

Claim Forms
Printed Claim Forms are set up from the Claim Forms window.
In the Main Menu, click Setup, Family/Insurance, Claim Forms.
This page only contains information about Claim Forms that are printed. The information in a printed Claim Form does not affect what is sent in e-claims.
Also see:
- ADA Claim Forms: How fields in a printed ADA 2012, 2018, 2019, and 2024 Claim Form are populated.
- HCFA 1500 Claim Form: How fields in a printed 1500 Claim Form are populated.
Claim Forms
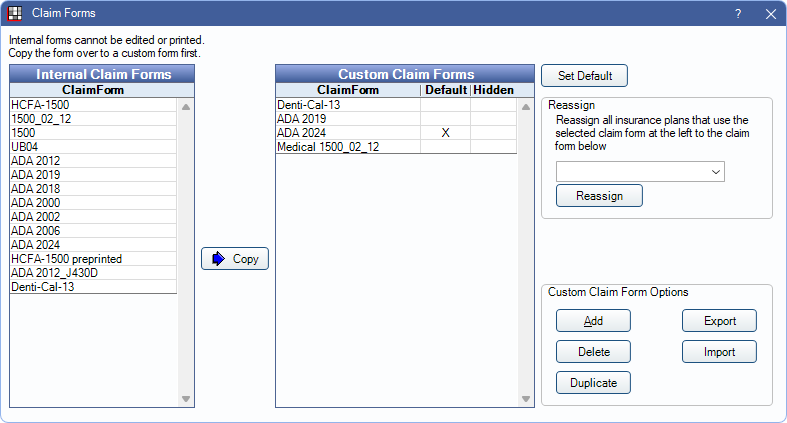
Open Dental includes multiple internal forms to choose from. Optionally, forms can be customized or new forms added.
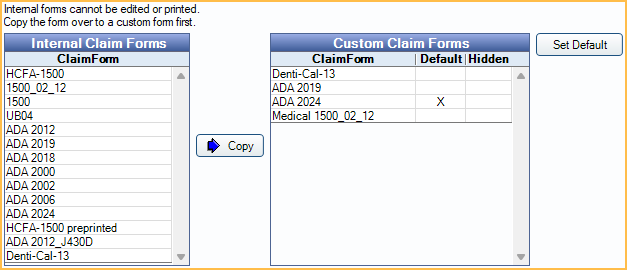
Internal Claim Forms: The original Claim Form templates that come with Open Dental. Double-click a form name to open a read-only copy.
Custom Claim Forms: Claim Forms that can be customized, duplicated, imported, exported, or deleted. Double-click a form name to open Claim Form Edit.
Copy: Click to copy an Internal form to the Custom grid.
Set Default: The default Claim Form determines the default Claim Form when a new Insurance Plan is created. Highlight a custom form, then click to set it as the default. An X appears in the Default column.
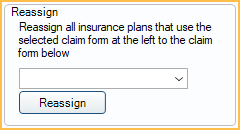
Reassign Claim Forms
Old Claim Forms associated with insurance plans can be reassigned to an updated form.
- Import or create the new Claim Form.
- In the Custom Claim Forms grid, highlight the old form.
- Click the Reassign dropdown and select the new form.
- Click Reassign. A message indicates how many insurance plans were affected by the reassignment.
Custom Claim Form Options
These options apply to forms in the Custom Claim Forms grid.
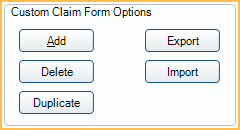
Add: Click to create a new blank Claim Form. Opens Claim Form Edit.
Delete: Highlight a Claim Form, then click to delete. Only do this when the Claim Form is not in use for any insurance plans.
Duplicate: Highlight a Claim Form, then click to create a duplicate.
Export: Highlight a claim form, then click to export in XML format. When the Windows File Explorer opens, choose where to save the XML.
Import: Import a Claim Form from an XML file.
- Requires an XML file exported from Open Dental.
- Most Claim Forms require a background image (GIF or JPEG) in addition to the XML.
- To Import:
- Save the XML file and the image file to the A to Z Folder (i.e., OpenDentImages folder).
- Click Import and select the XML file.
- The new form appears last in the Custom Claim Forms list. Once imported, the XML file is no longer needed by Open Dental and can be deleted from the A to Z folder.
- See Claim Form Edit to add a background image.