

ITRANS 2.0
For Canada Dentist users, claims are submitted using the ITRANS 2.0 clearinghouse.
There are three parts to installing ITRANS 2.0.
- Install ITRANS Claims Director service (see below).
- Setup the ITRANS 2.0 clearinghouse in Open Dental (see below).
- Install CDA Digital IDs.
- ITRANS 2.0 is for dentist providers. If an Independent Hygienist or Denturist is on staff who will be submitting claims, the CCDWS Service is also required.
- ITRANS 2.0 users must use version 4 of the ITRANS Claims Director.
- For information on ITRANS 2.0, see Question and Answers about ITRANS 2.0 from the Canadian Dental Association.
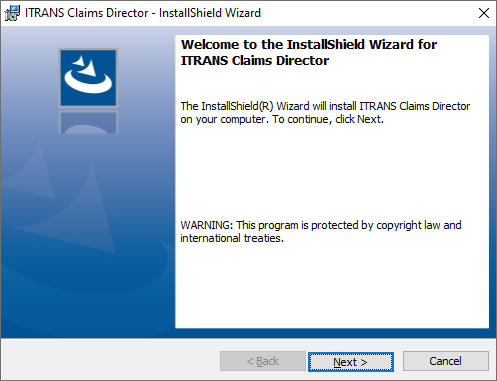
Install ITRANS Claims Director Service
ITRANS 2.0 includes the ITRANS Claims Director (ICD) service, which sends and receives claim and carrier information.
- On the Windows administrator account of the server, download ICD for Windows from https://www.cda-adc.ca/get/.
- Right-click the ICD executable and select Run as administrator.
- If Microsoft Defender blocks the installation, click More Info, then Run Anyway.
- When prompted, select English (United States), then click OK.

- Click Next.
- Click Next.
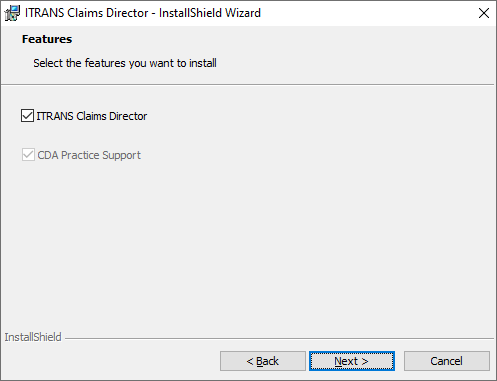
- Ensure ITRANS Claims Director is checked, then click Next.
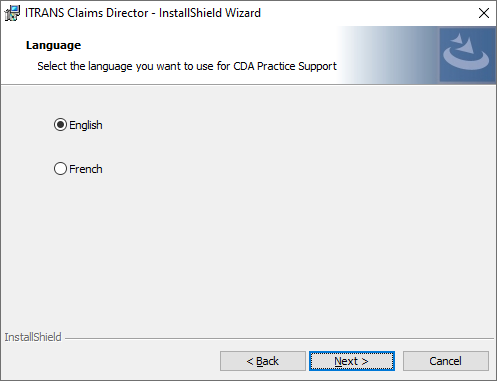
- Select English as the language, then click Next.
- Ensure the installation path is set to C:\Program Files (x86)\CDA\ICD\, then click Next.

- Enter the Service User Account and password. This is the user that CDA Digital IDs (i.e., provider certificates) will be installed to. Then click Next.
 Note: Domain, user, and password must be entered correctly for the service to install. If not using a domain, enter the server name instead (e.g., server\user or .\user).
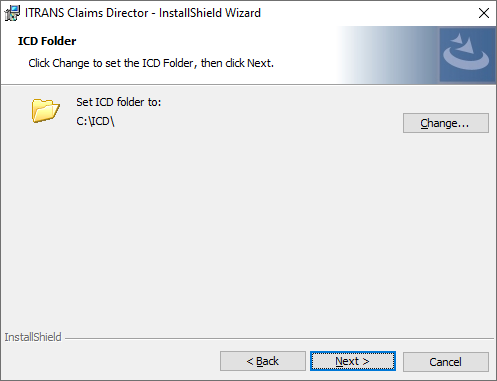
 - Ensure the ICD folder is set to C:\ICD\, then click Next.
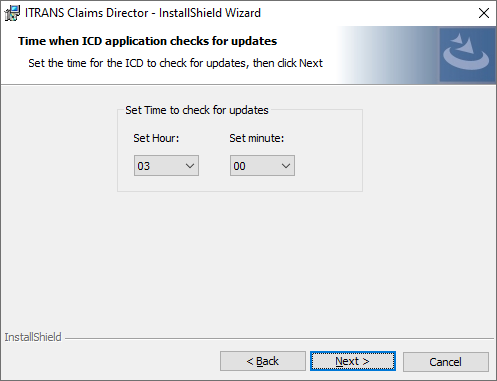
- Set the Time to Check for updates. 03:00 is the default. Then click Next.
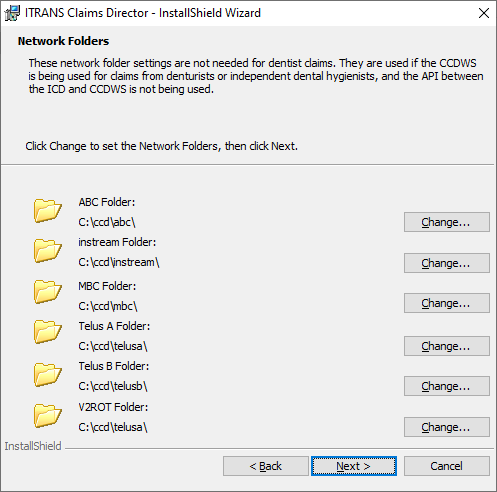
- Keep the Networks folders in their default location. These do not need to change. Then click Next.
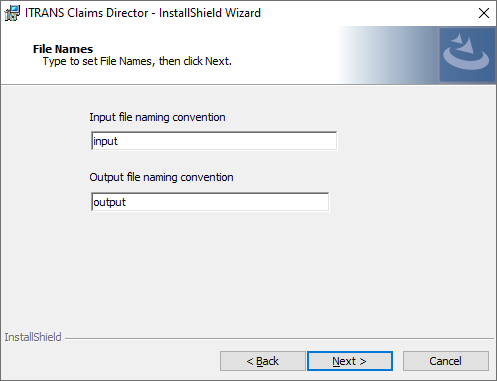
- Review the Input and Output file naming conventions. These do not need to change. Then click Next.
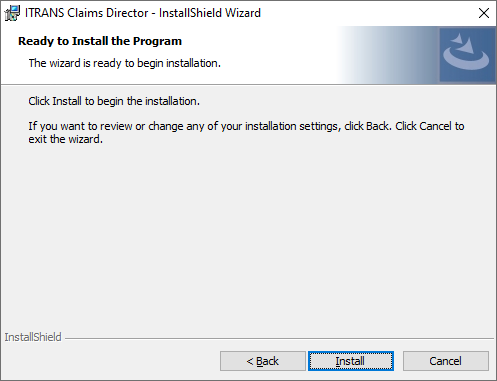
- Click Install.
- Share out the C:\ICD\ folder so all users have read and write permissions.
- Restart the ITRANS Claims Director service.
Set the ITRANS 2.0 Clearinghouse
Setup the ITRANS clearinghouse to enable ITRANS 2.0 claim submission.
In the Main Menu, click Setup, Family/Insurance, Clearinghouses. Double-click ITRANS 2.0.
- Set the Claim Export Path to \\ServerName\ICD\.
- Set the Report Path to \\ServerName\ICD\.
- Ensure Use Claim Export Path is checked.
- Set the Explanation of Benefits (EOB) Option.
- Do Not Download EOBs: EOBs will display, but amounts from EOBs will not be downloaded into claims/predeterminations.
- Download EOBs, Do Not Auto Receive: EOBs will display and amounts from EOBs will be automatically downloaded as insurance estimate overrides (claims and predeterminations) and preauth estimates (predeterminations only), but the claim/predetermination will not be marked as received.
- Download EOBs and Auto Receive: EOBs will display and amounts from EOBs will be automatically downloaded as insurance estimate overrides (claims and predeterminations) and as preauth estimates (predeterminations only), and claim procedures will be received using the same amounts. Claim payment will need to be finalized after receiving payment from the carrier.
- Set the Comm Bridge to ITRANS.
From the Clearinghouses window, ensure ITRANS 2.0 is set as the default clearinghouse.
Troubleshooting
If the ICD does not install (might show error 1069, 1920, or 1923), there may be an issue with the credentials. Cancel the installation, re-run the installer as administrator, and when prompted for credentials (Step 9) leave them blank and click Next. When installation is complete, find the ITRANS Claim Director in Services and go to Properties. Re-enter the credentials under This Account in the Log On tab.