

Scan EOB
The Insurance Payment (EOB) window is described at the bottom of both Finalize Insurance Payment and Batch Insurance Payment. In the lower-left corner is an area indicating if the EOB is already scanned.
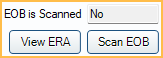
- If an EOB is not scanned (No), click Scan EOB to scan the EOB.
- If an EOB is already scanned (Yes), click View to view the EOB.
- Click View ERA to see any ERA associated with the claim.
Open Dental recommends entering all EOB information (including remarks) with payment details so staff can refer to and access it when needed. If a patient asks why insurance did not pay as expected, users can quickly determine which procedures were not paid and why.
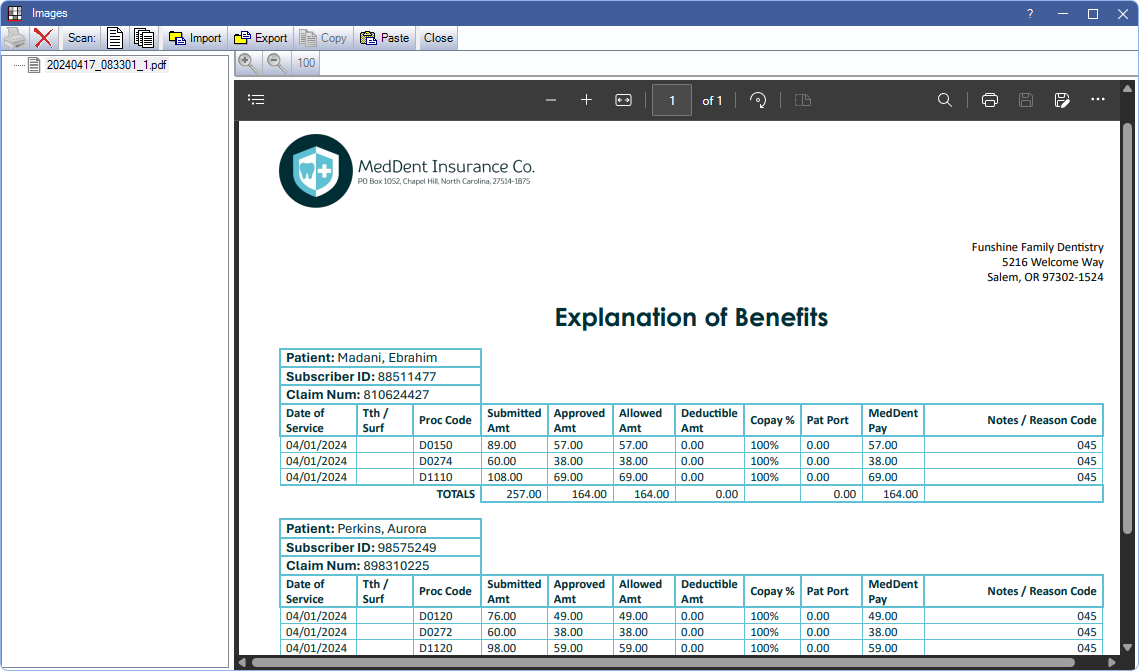
- Printer: Opens the Select Printer window to print the selected image. The image is automatically resized to fit the printed page. Not available for PDFs. See the PDF viewer dialogue instead.
- X: Delete the selected image.
- Scan Document: Use a flatbed scanner to scan a single page of the EOB.
- Scan Multi-Page Document: Use an automatic document feeder (ADF) to scan multiple pages at once.
- Import: Import an existing EOB file from the computer or network.
- Export: Export the selected EOB file to another location on the computer or network.
- Copy: Copy the selected item to the clipboard.
- Paste: Paste an item from the clipboard. JPEG Compression is applied to pasted images. See Imaging Quality.
- Close: Close the EOB window.
- Magnifying Glass + and -: Zoom in and out in 50% increments, or click 100 to view the EOB at 100%.
Scanned and imported EOBs are stored in the A to Z Folder in the EOBs folder (e.g., \\server\OpenDentImages\EOBs).