

Sheets
Sheets are templates that can be customized for patient forms, letters, and more.
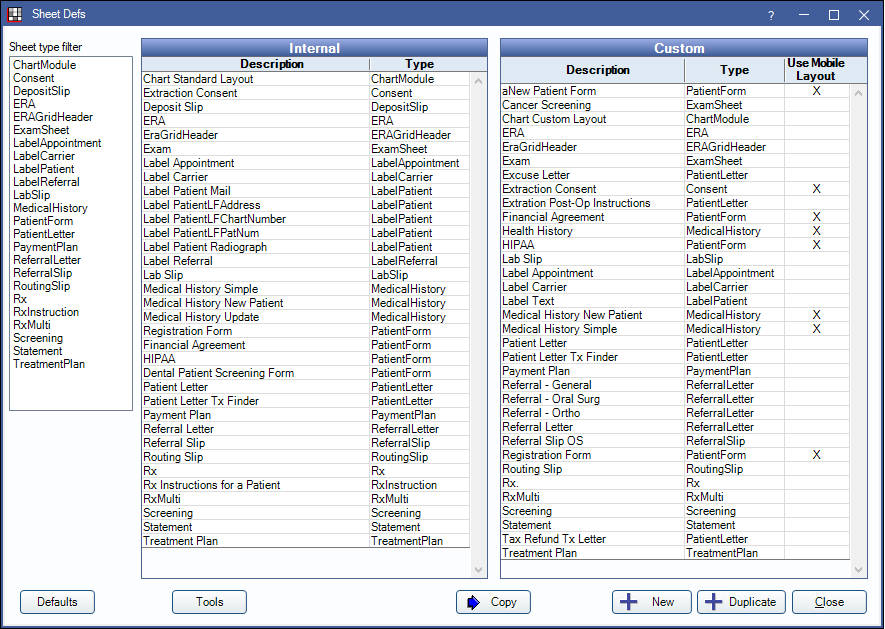
In the Main Menu, click Setup, Sheets.
Sheets can include text, images, information from the database, input fields, checkboxes and radio buttons, signature boxes, and freehand drawing. Open Dental has several internal sheets that can be used for patients, or copied and edited as needed.
![]() See our Sheets Playlist.
See our Sheets Playlist.
Sheet Type Filter: Select to filter the sheets list by type.
Grids:
- Internal: The original sheet templates that come with Open Dental. Cannot be edited, but can be copied.
- Custom: Sheet templates that have been customized or created by offices.
Buttons:
- Defaults: Click to open Sheet Def Defaults window.
- Tools: Click to open Sheet Tools Import / Export window.
- Copy: Select an internal sheet from the list on the left and click copy to create a custom version to edit.
- New: Create a new blank custom sheet.
- Duplicate: Highlight a Custom sheet in the list and click Duplicate to create a new copy. For example: duplicate a custom letter sheet to create a second version that can be customized with a different body of content.
Also see:
- Edit Sheet Def
- Sheet Def Properties
- Sheet Field Types (fields, images, checkboxes/radio buttons, signature boxes, grids, formatting, etc.)
- Web Forms Feature
- Kiosk Manager
- Fill Sheet
- Import Patient Forms and Medical Histories
- Sheet Troubleshooting
Sheet Types:
- Consent Form Layout
- Deposit Slip Layout
- ERA Layout
- ERA Grid Header Layout
- Exam Sheet Layout
- Lab Slip Layout
- Label Layout
- Medical History Layout
- Patient Form Layout (e.g., reg. form, HIPAA, financial agreements)
- Patient Letter Layout
- Payment Plan Layout
- Screening Layout
- Referral Letter Layout
- Referral Slip Layout
- Routing Slip Layout
- Rx Instructions Layout
- Rx Layout
- Rx Multiple Layout
- Statement Layout
- Treatment Plan Layout
- Chart Layout
Sheet Design Service
If you have existing forms you would like to convert to sheets, but don't have the time or expertise to set them up, we can help! Please submit a Custom Sheet Request to get started. See Fees for Support and Services for our rates.
Anyone can submit a Custom Sheet Request for a quote. However, an office must be on support or have a final conversion scheduled before work can begin on an approved Custom Sheet Request job.
When you submit your request, we will ask you to send us samples of the forms you are already using so we can design to match as closely as possible. If you can supply a native program file (e.g., a Word document or PDF, not a scanned image), it may reduce the design cost.